Week 4: 3D scanning and printing
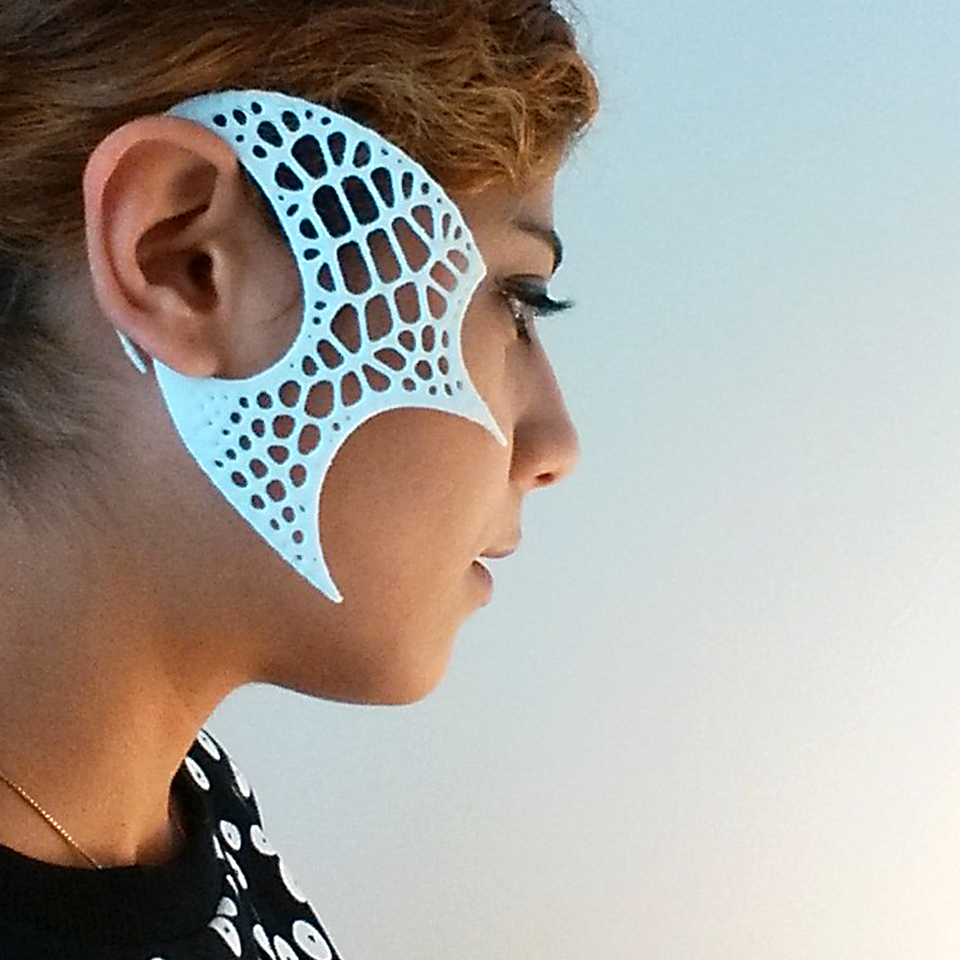
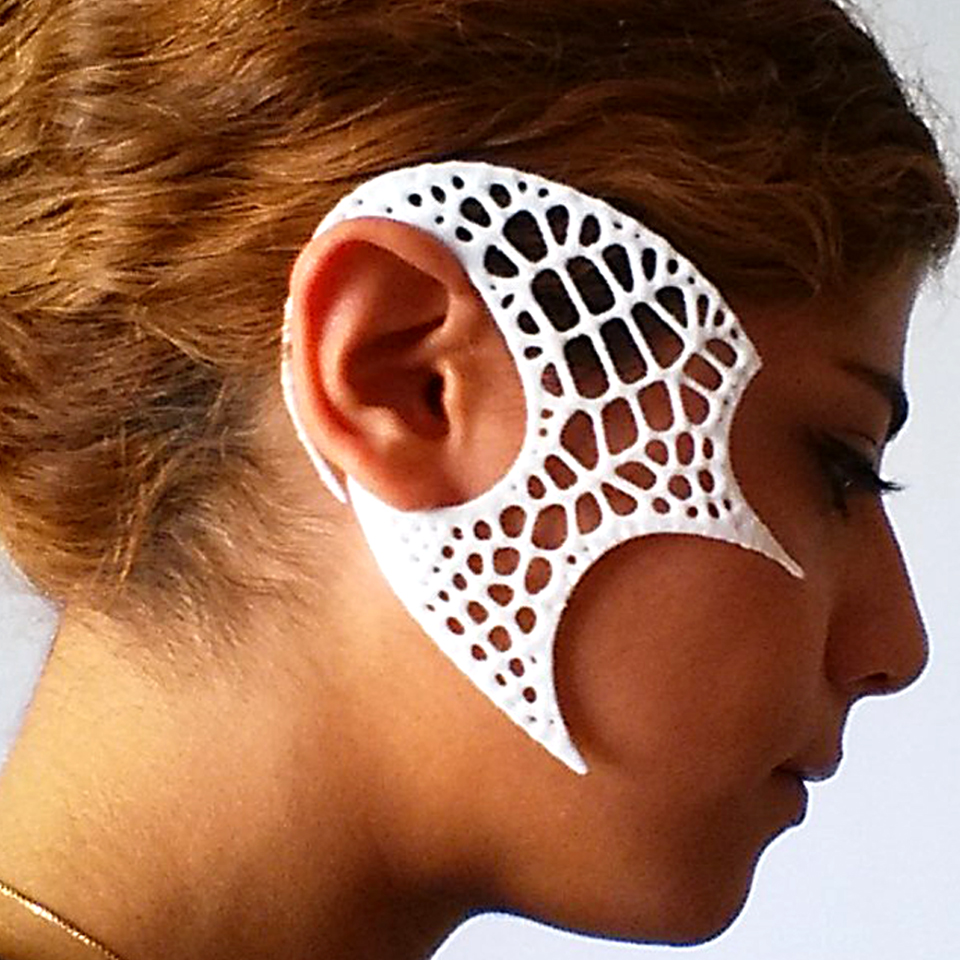
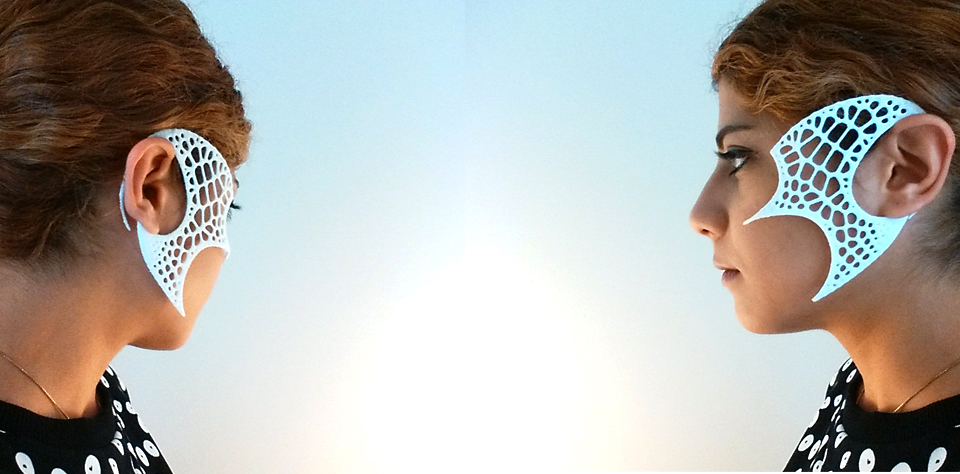
This week’s project was to “make” something using 3D scanning and 3D printing. Aiming to make something that combines these tools, I decided to make a wearable that fits on my face. The process was divided into three steps, 3D scanning my face, Design, and 3D printing.
3D Scanning:
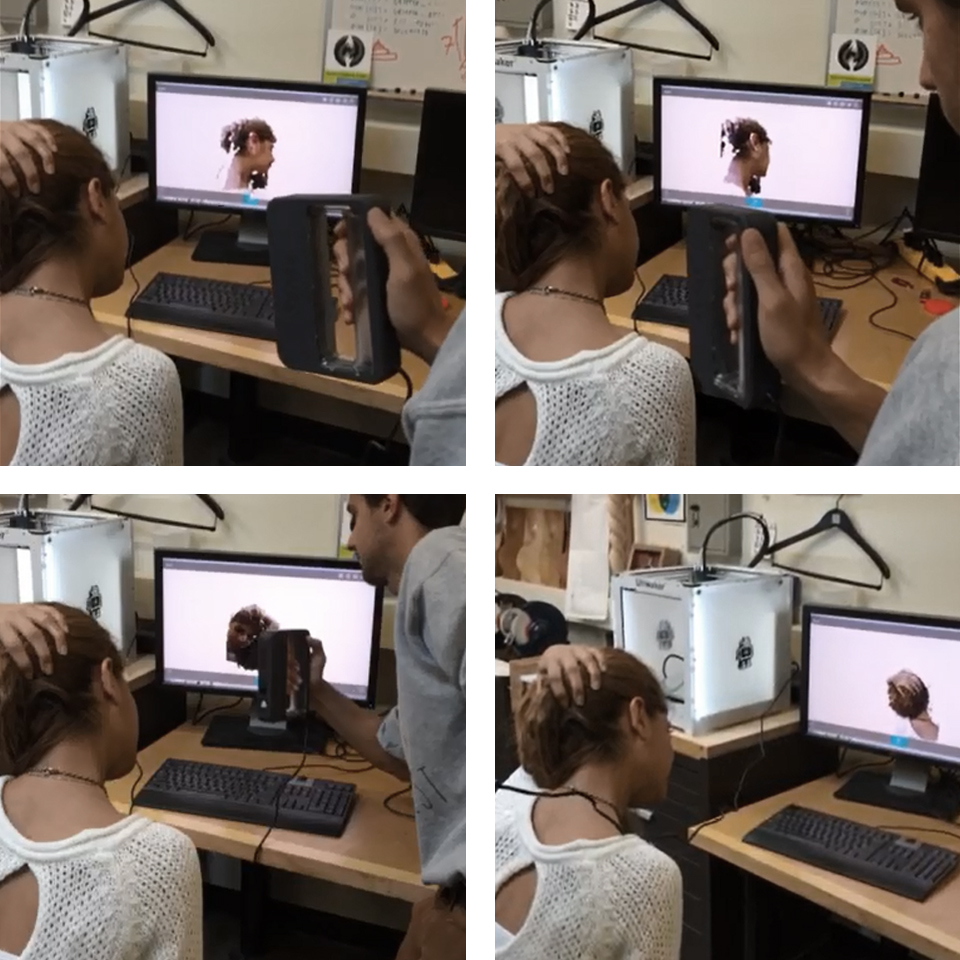
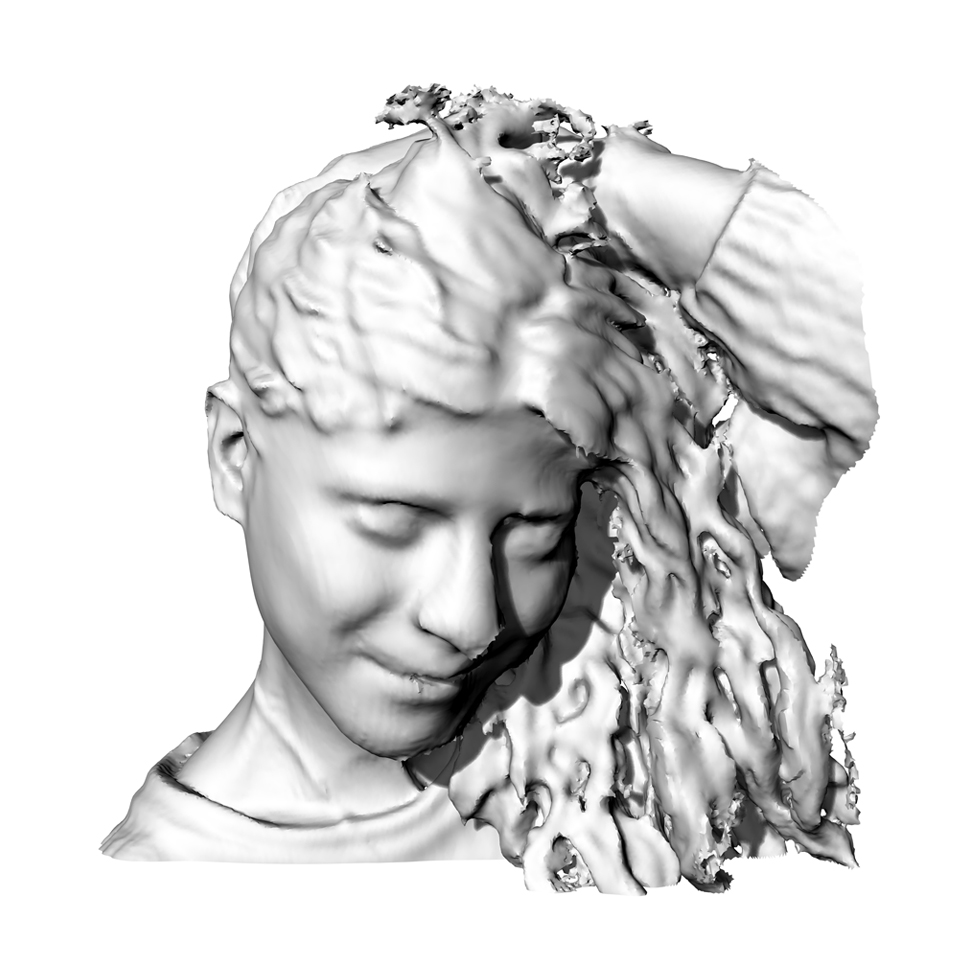
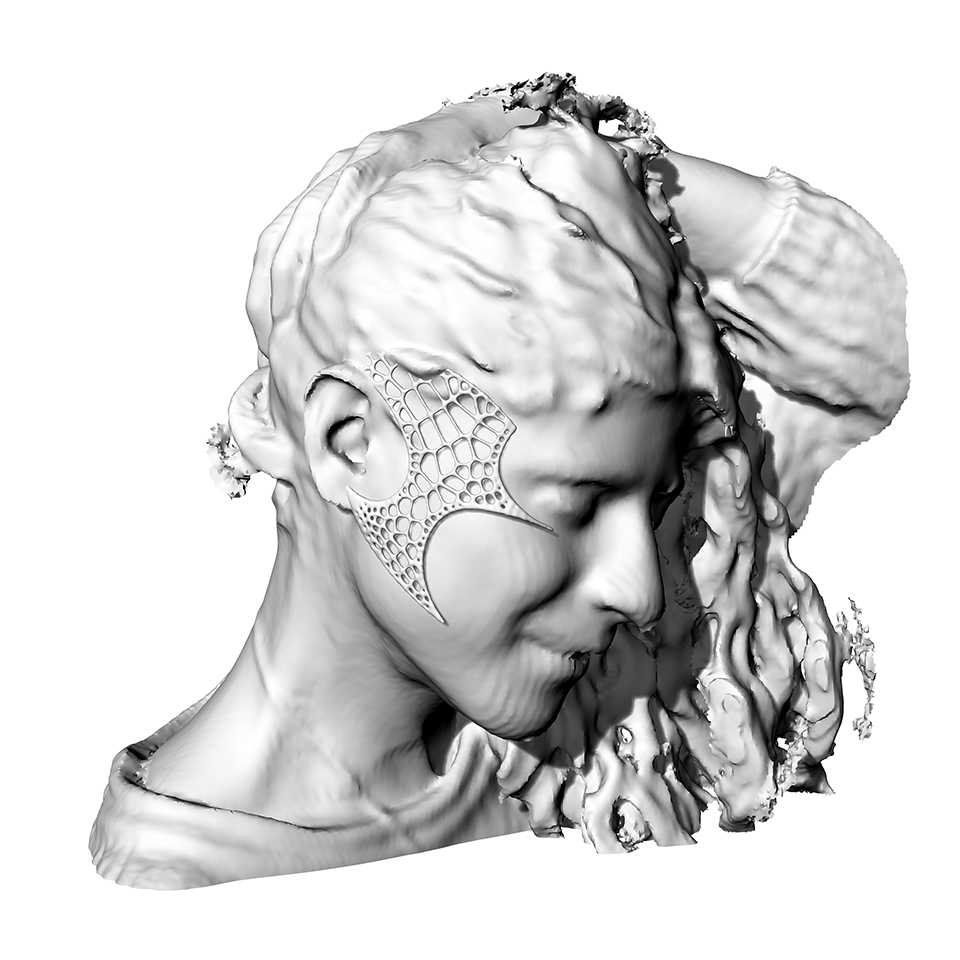
I used Sense 3D Scanner to scan my face. I had a general idea about what I wanted to design, which was something on my right ear, so I posed in a way that camera could get all the details from my ear and it’s area. Then, I imported the stl file into Rhino to do some trimming and manipulations on the mesh.
3D Design:
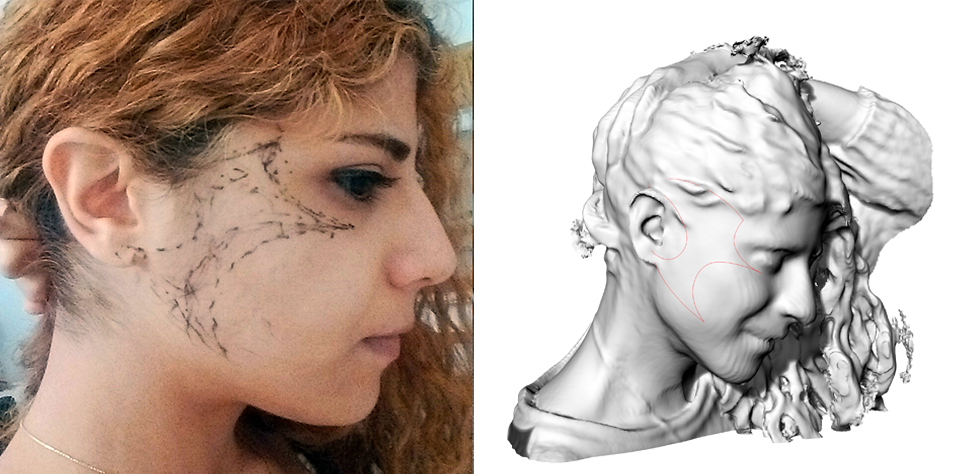
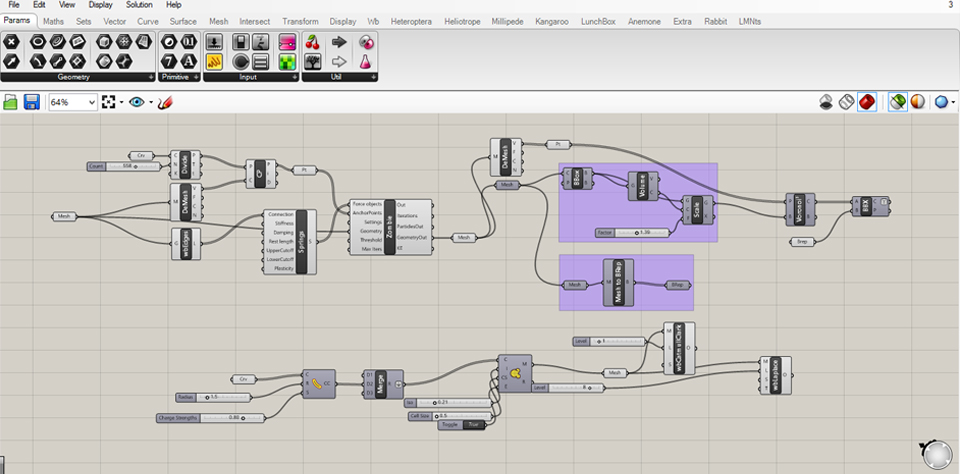
Now that I had the model of my face in Rhino, I could started designing the wearable. I started with sketching the design on my face!! And after finding out the general form, I started modeling in Rhino using curves to model the outline of wearable on my modeled face. I created a mesh out of otline curves, and in the next stage, I imported the mesh into grasshopper in order to make the pattern, and give thickness to the lines.

3D printing:
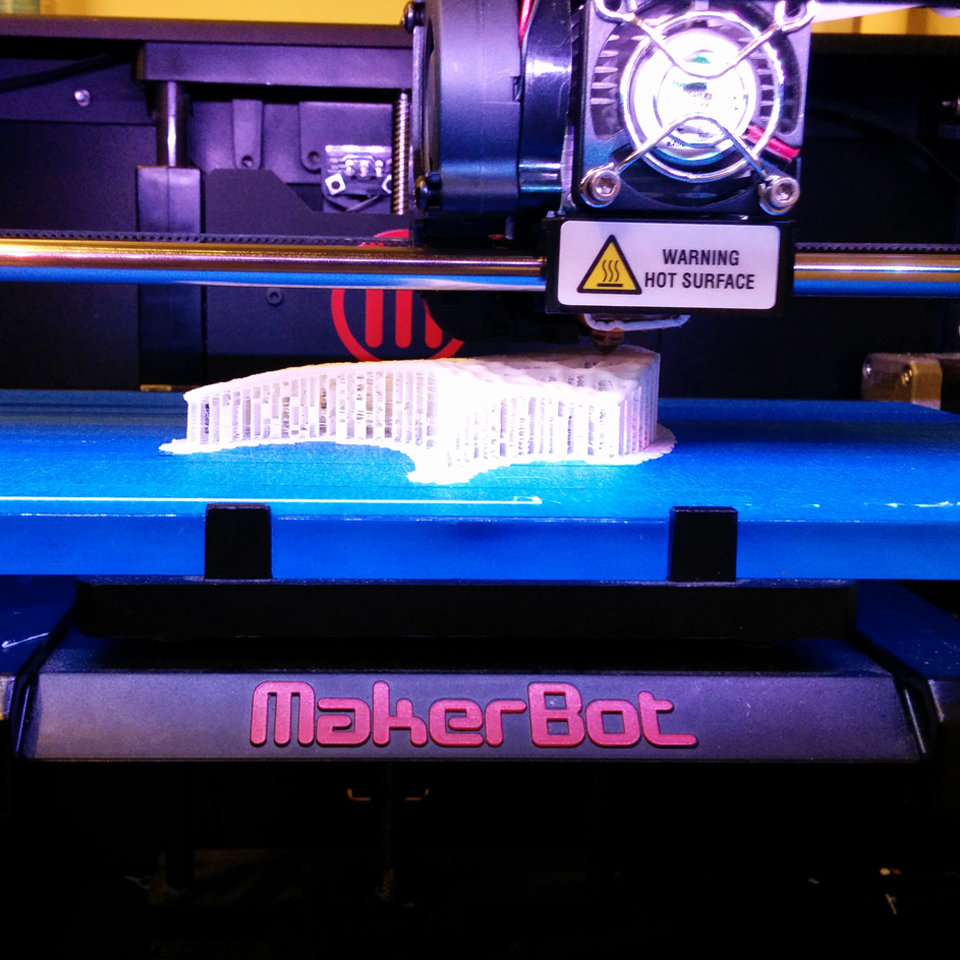
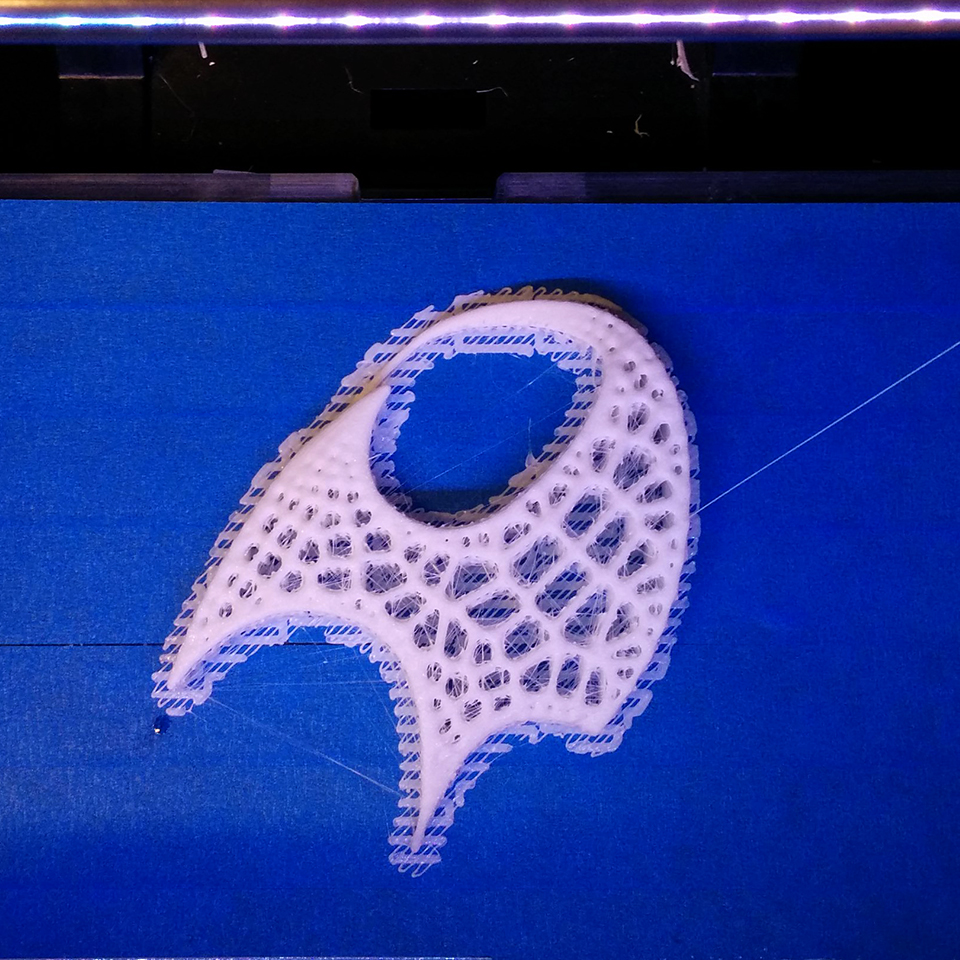
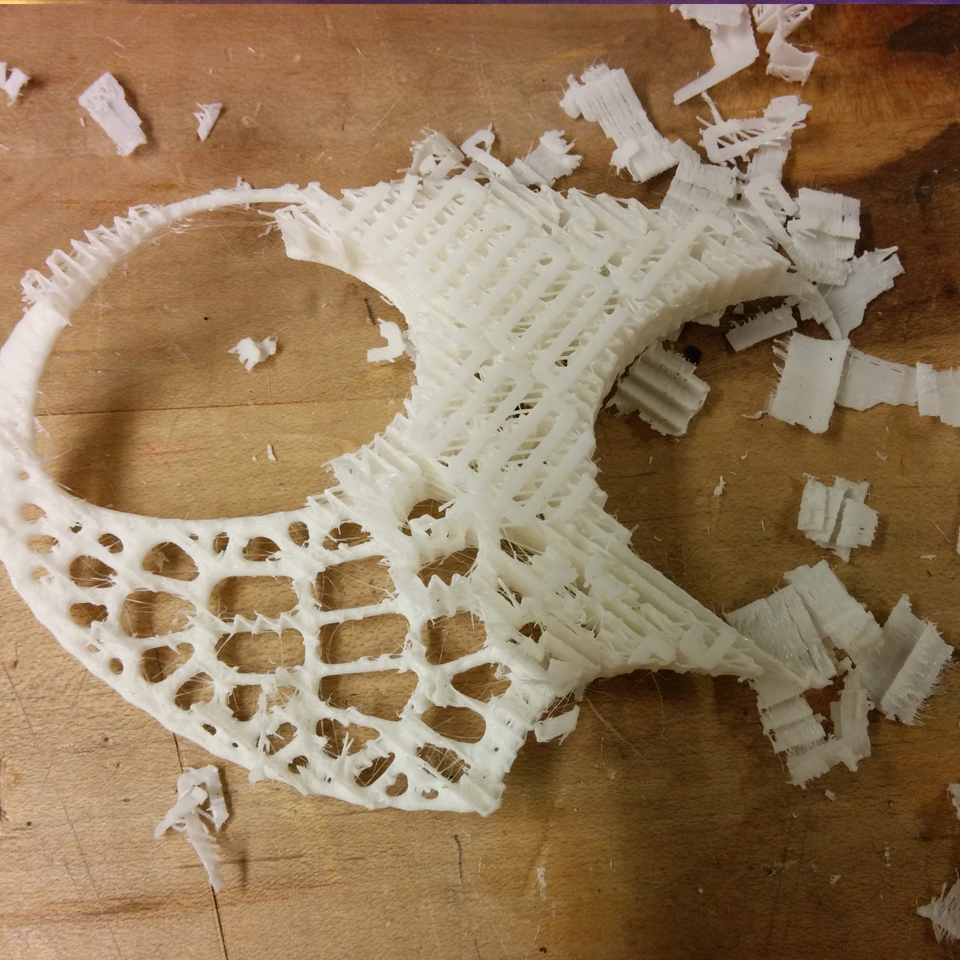
I used MakerBot to 3D print my model. I made some manipulation to the “standard” mode: I changes the thickness layer to .15 in order to have better quality on curved surface, and also increased the amount of supports. Printing finished in 2.5 hours. After taking the model out of the machine, I removed the supports, and tried cleaning the model a little bit.
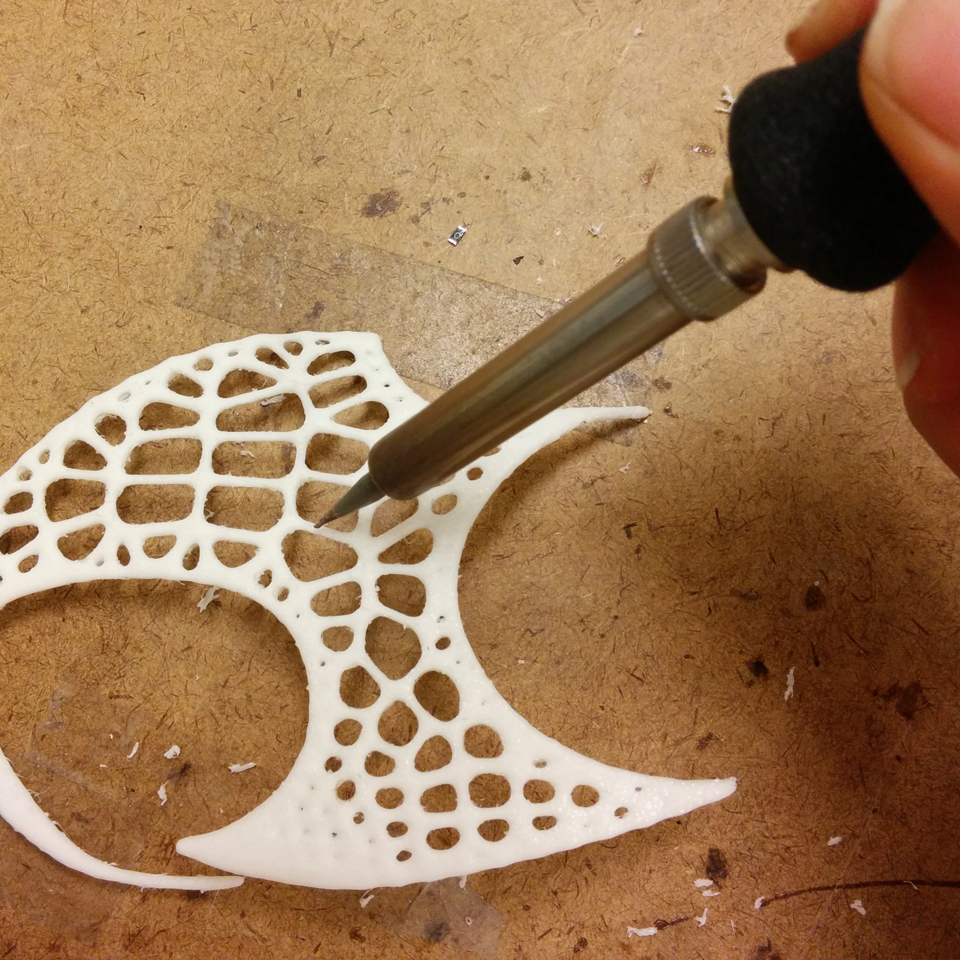
 I used Solder Iron to do the final touches of cleaning on my model. It works great! You just need to clean the soldering iron (with the wet sponge) after each use, otherwise the burnt plastic make your model dirty and puts some black stains on it.
Now that I had the model of my face in Rhino, I could started designing the wearable. I started with sketching the design on my face!! And after finding out the general form, I started modeling in Rhino using curves to model the outline of wearable on my modeled face. I created a mesh out of otline curves, and in the next stage, I imported the mesh into grasshopper in order to make the pattern, and give thickness to the lines.
3D printing:
I used MakerBot to 3D print my model. I made some manipulation to the “standard” mode: I changes the thickness layer to .15 in order to have better quality on curved surface, and also increased the amount of supports. Printing finished in 2.5 hours. After taking the model out of the machine, I removed the supports, and tried cleaning the model a little bit.
I used Solder Iron to do the final touches of cleaning on my model. It works great! You just need to clean the soldering iron (with the wet sponge) after each use, otherwise the burnt plastic make your model dirty and puts some black stains on it.